|
| Publish to OIC |
Introduction
Publish/subscribe
or the pub/sub messaging is an a synchronous communication architecture
In a
pub/sub model, any message published to a topic is immediately received by all
of the subscribers to the topic.
Publisher publish a message
and all the subscribers subscribes to a publisher.
Oracle Integration provides a simple and managed solution for
pub/sub communication. OIC provides “ICS Messaging Service Adapter” with quick
configuration to achieve the objective.
And
integrations that enable subscribers to subscribe to messages from Oracle
Integration.
I
will explain here with simple steps to build integrations that enable us to
publish messages to Oracle Integration and as well subscribe to OIC
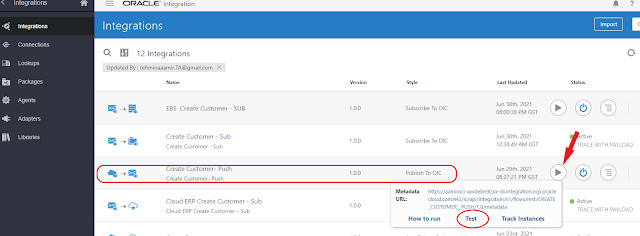
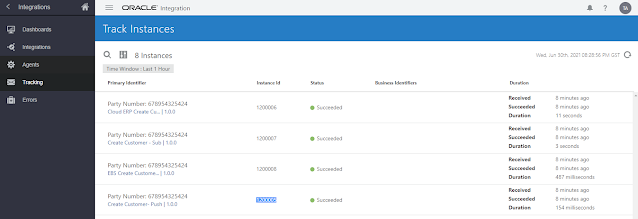
We will create 3 integrations
- Publish to OIC in this article
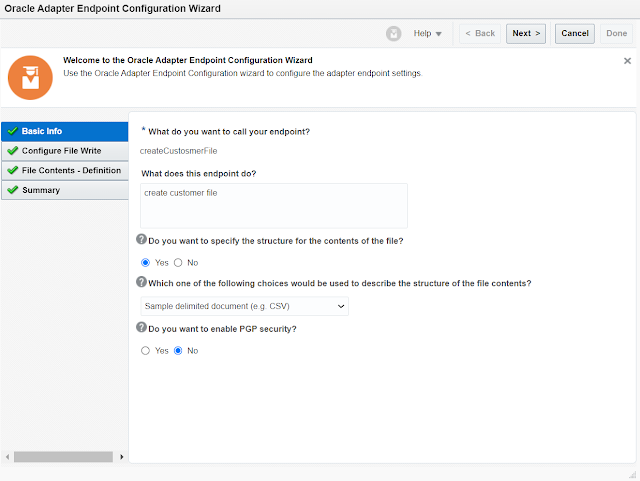
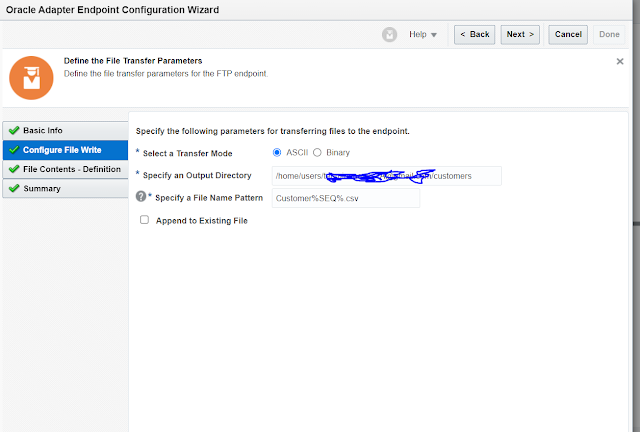
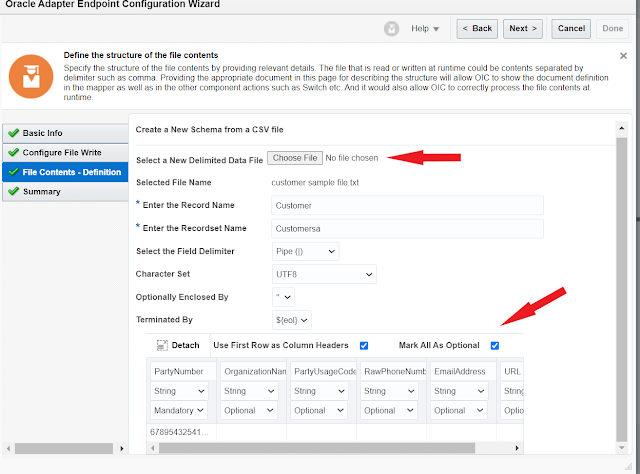
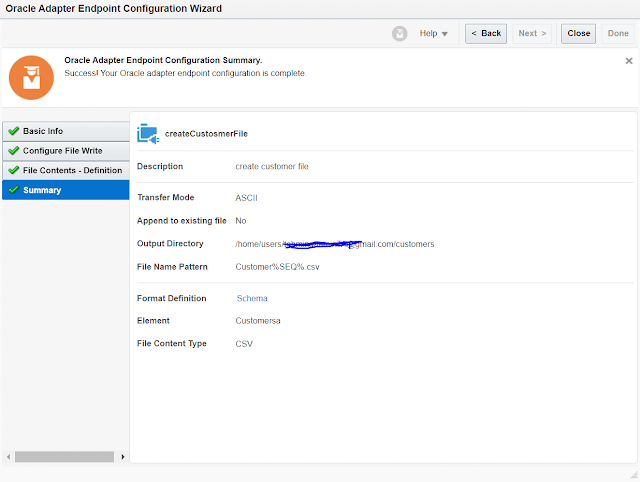
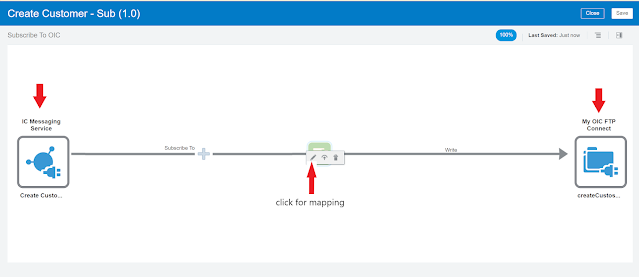
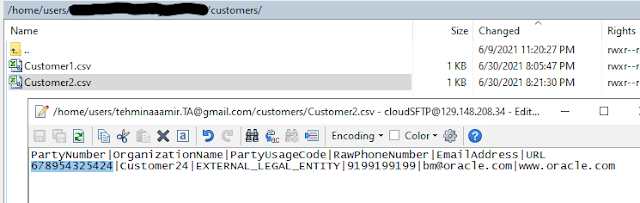
- First Subscribe to OIC for FTP File creation
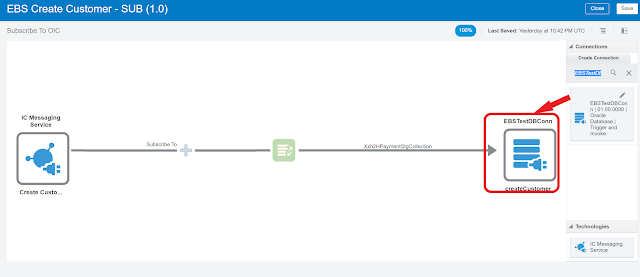
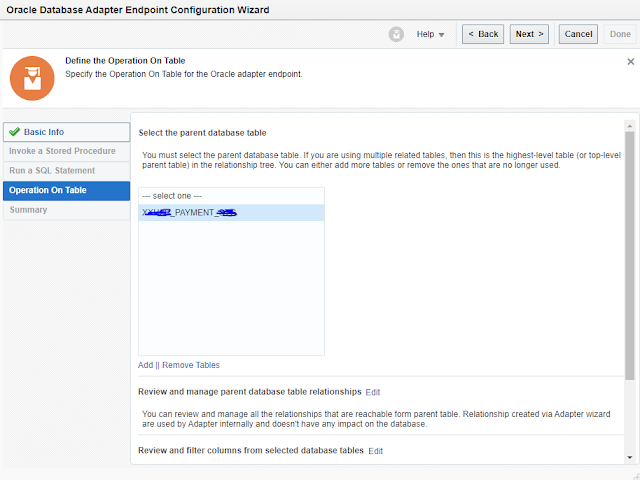
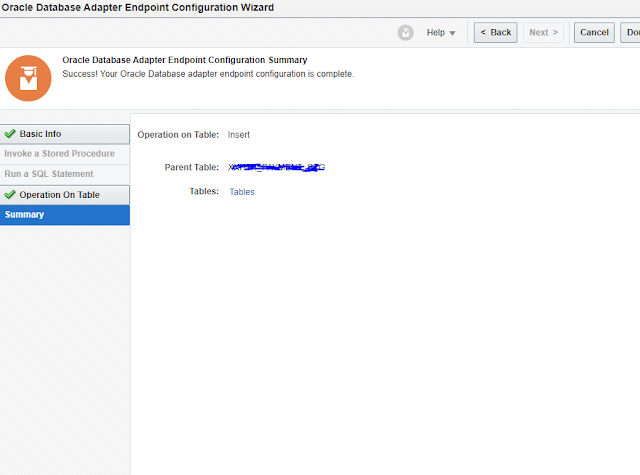
- 2nd Subscribe to OIC Database Insert on-premise database
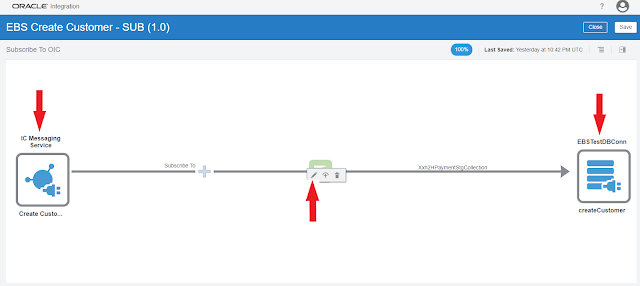
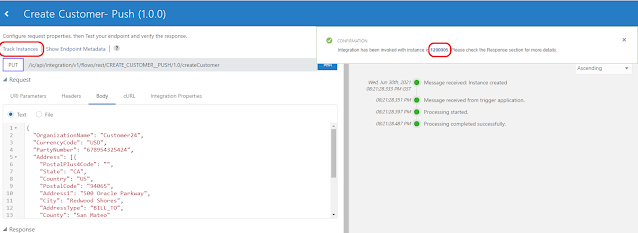
Publish to OIC will be a simple rest end point to push message to OIC. And IC Messaging service will take care of the rest.
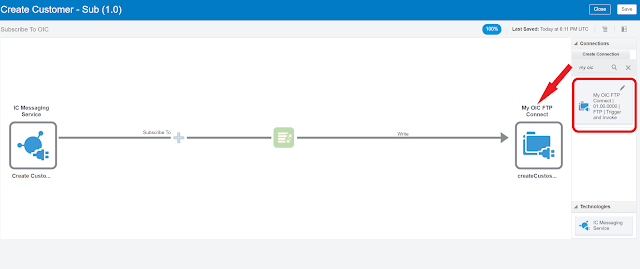
Subscribe to OIC integrations which will use above Push integration and received the payload and consume respectively
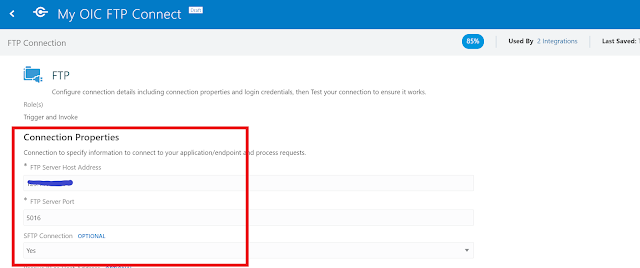
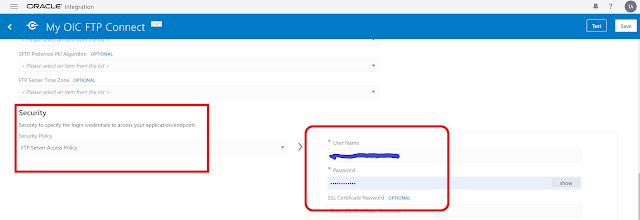
Create a simple REST connection with trigger role
 |
| Connections |
 |
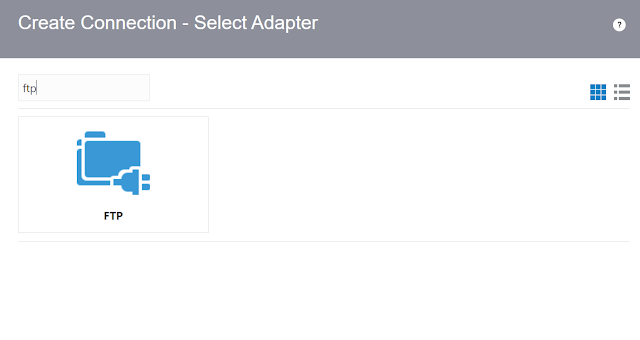
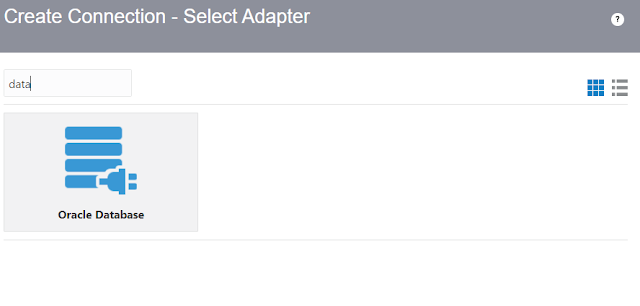
| Creating connection - selecting adapter |
 |
| REST connection |
From the Integrations, under the Integration home page, click create
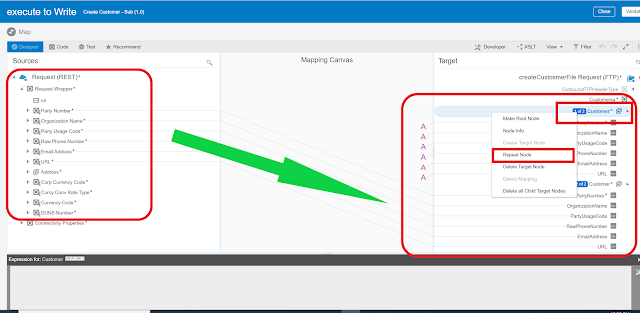
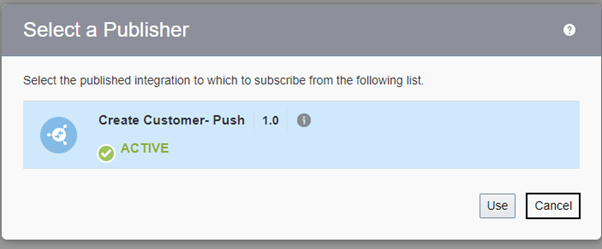
We will select the Type Publish To OIC, which has the required structure ready.
 |
| Integration style |
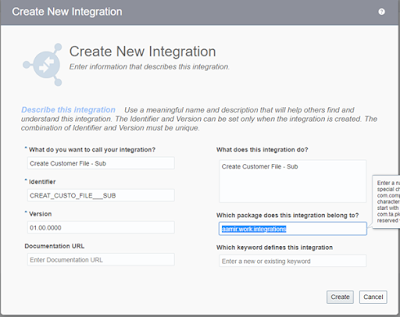
Enter the basic integration details
 |
| create new integration |
 |
| REST endpoint - Basic info |
 |
| REST Endpoint - Resource Configuration |
 |
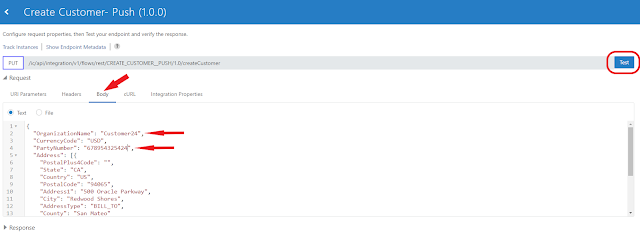
| RESTT Endpoint - Request |
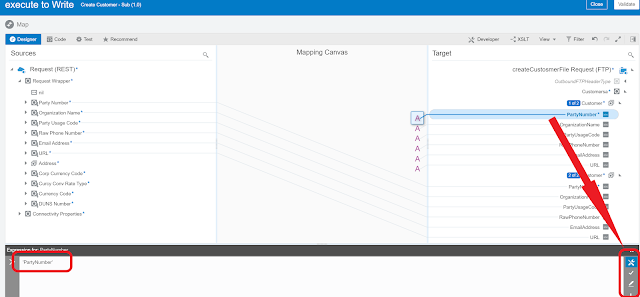
"PartyNumber" : "67895432541",
"OrganizationName" : "CustomerA",
"PartyUsageCode" : "EXTERNAL_LEGAL_ENTITY",
"RawPhoneNumber" : "9199199199",
"EmailAddress" : "bm@oracle.com",
"URL" : "www.oracle.com",
"Address" : [ {
"AddressType" : "BILL_TO",
"Address1" : "500 Oracle Parkway",
"City" : "Redwood Shores",
"Country" : "US",
"County" : "San Mateo",
"PostalCode" : "94065",
"PostalPlus4Code" : "",
"State" : "CA"
} ],
"CorpCurrencyCode" : "USD",
"CurcyConvRateType" : "Corporate",
"CurrencyCode" : "USD",
"DUNSNumber" : "123456789"
}
 |
| Enter sample JSON |
 |
| REST Endpoint - Summary |